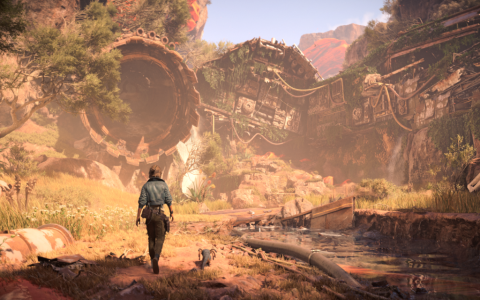
Alright, guys, so I’ve been diving deep into Star Wars Outlaws, and let me tell you, upgrading that blaster is KEY. I spent a good chunk of time figuring this out, so here’s the lowdown from my own experience.
Finding a Workbench
First things first, I scoured the cantinas. Seriously, I checked every corner, talked to every shady character, hoping to find a workbench. Eventually, I stumbled upon one tucked away in a back room. It wasn’t marked or anything, so keep your eyes peeled!
Gathering the Goods
Next up, I needed parts. I learned the hard way that you can’t just slap any old junk onto your blaster. I spent some time completing side missions, you know, the usual fetch quests and bounty hunts. Some missions that I completed had a lot of credits, while others provided parts.
- I looted every crate I could find. Sometimes I’d get lucky, sometimes it was just scrap.
- I talked to vendors. Some of them had decent parts, but they weren’t cheap! I haggled a bit, naturally.
- I took down some rival gangs. They often dropped some pretty sweet mods.
Putting it All Together
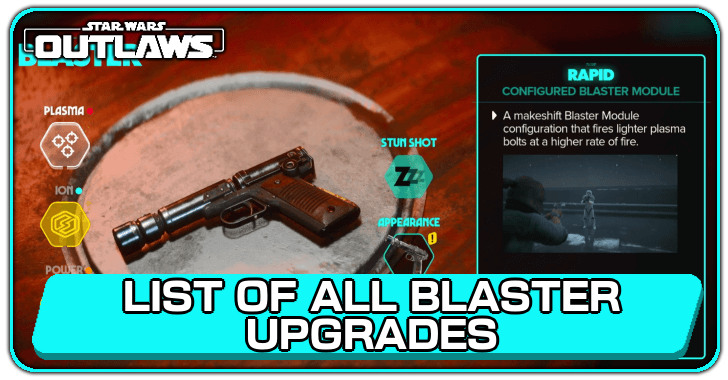
Once I had my workbench and a pile of parts, it was time to get to work. I clicked on the workbench, and it brought up a menu. I selected my blaster, and then I could see all the available upgrade slots.
I experimented with different combinations. Some mods increased damage, others improved accuracy. It was all about finding what worked best for my playstyle. Don’t be afraid to try different things out!
After some trial and error, I finally settled on a setup that I liked. I boosted the damage output and added a scope for better aiming. My blaster felt way more powerful, and I was ready to take on anything the galaxy threw at me!
It take time to find the perfect parts, complete the mission, or maybe buy them. Be patient and try several combinations to create the best one.


